Customer Help
Getting Started with Plavidian Connect
Use this guide to submit orders, upload files, review proofs, track job status, and view invoices inside Plavidian Connect.
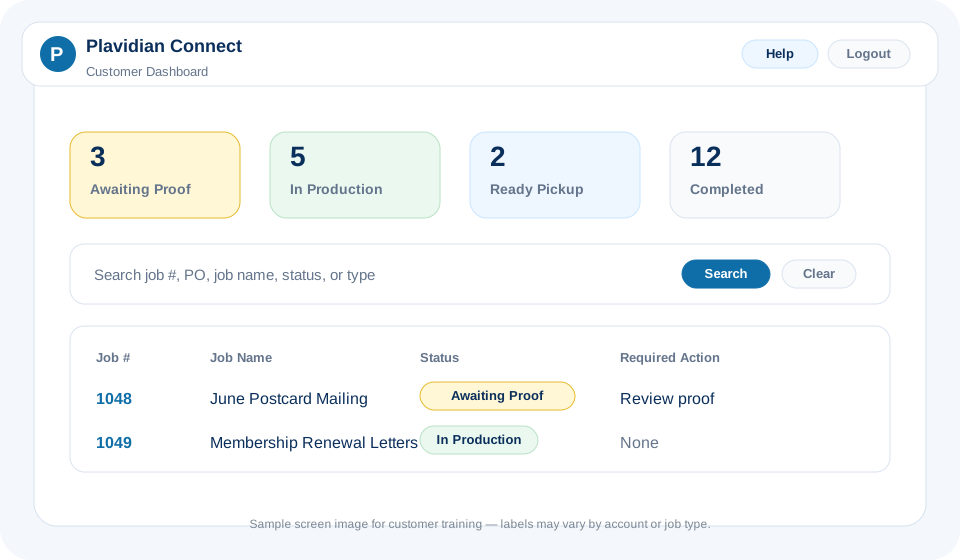
Sign in or create your account
Use your customer login to access your dashboard, job history, estimate requests, proofs, invoices, and uploaded files. New customers can create an account before submitting an order or requesting an estimate.
- Use the email address connected to your company or account.
- Use Forgot Password if your account already exists but you need a reset.
- Once logged in, your name or company appears in the header.
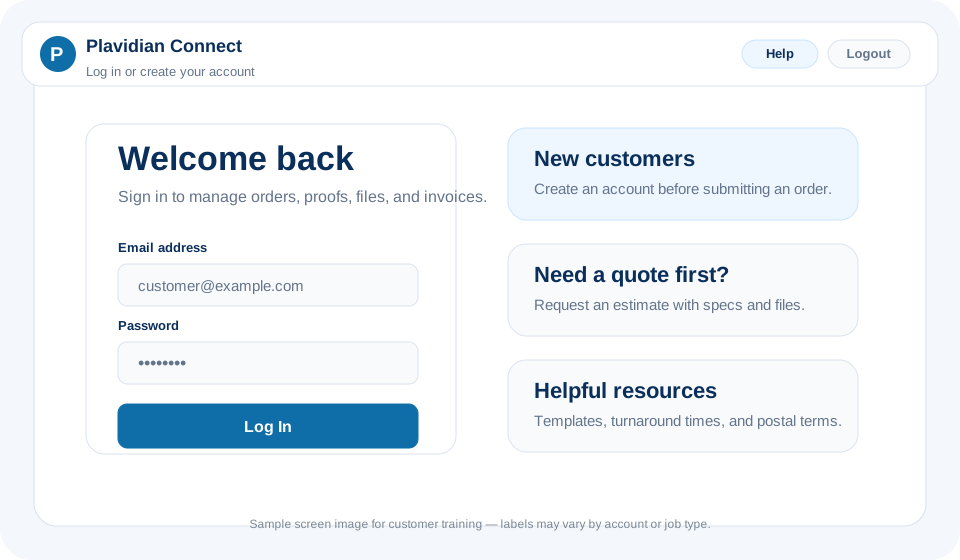
Use your dashboard to find jobs and next actions
The dashboard is your home base. Search by job number, PO, job name, customer, status, or type. Status cards and badges help show which jobs need attention.
- Awaiting Proof Approval means a proof is ready for review.
- In Production means Plavidian is producing the job.
- Ready for Pickup means pickup details are available.
Create a job or request an estimate
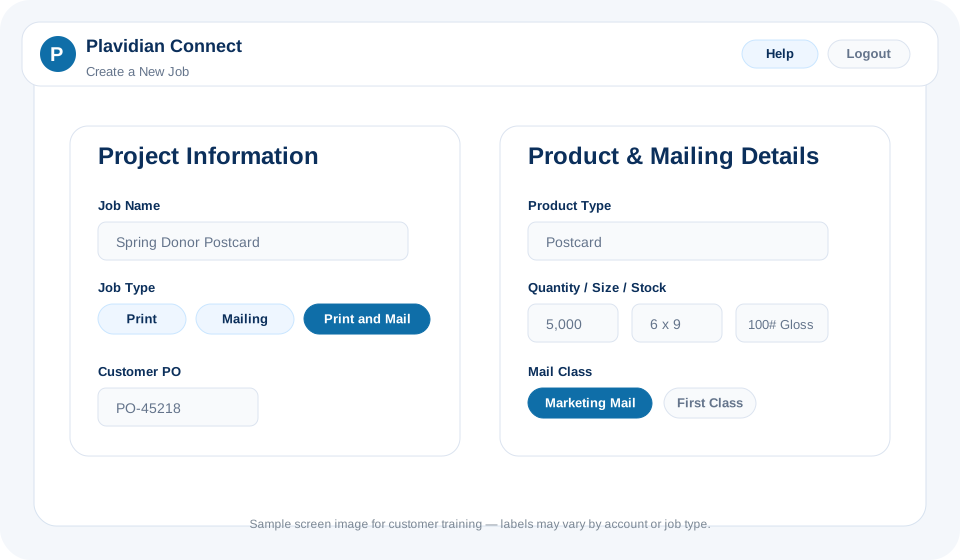
Choose New Job when you are ready to submit an order. Choose Request Estimate when you need pricing first. Estimate requests can include product type, stock, size, quantity, finishing, and special requirements.
- Include your PO number when available.
- Add due date or in-hands requirements in the notes.
- For mailings, select the mail class when known: Marketing Mail or First Class.
Upload artwork, mailing lists, and support files
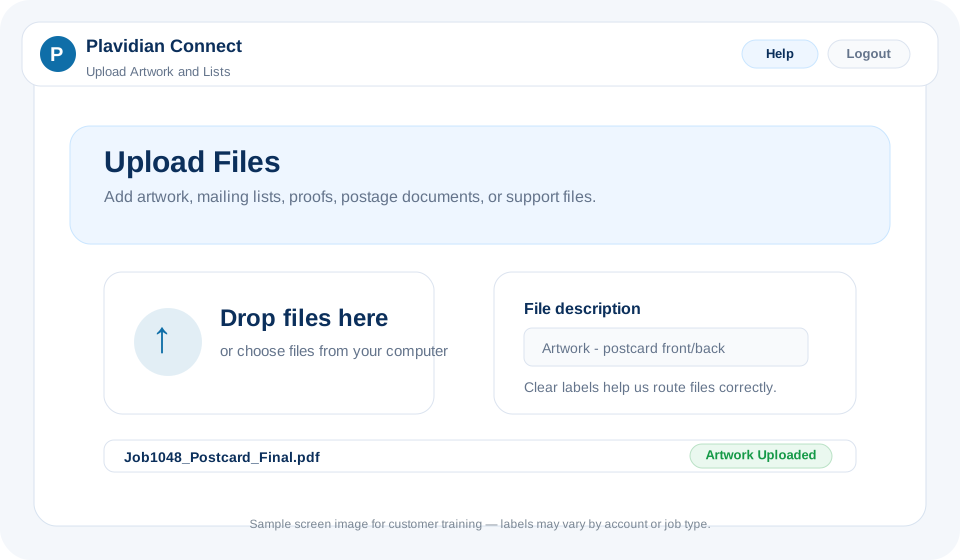
Upload production files from the job page. File descriptions help Plavidian route the file correctly, especially when a job has artwork, inserts, envelopes, mailing lists, postage documents, or support files.
- Use PDF files for print artwork whenever possible.
- Use clear names like Job1048_Postcard_Final.pdf or Job1048_MailingList.xlsx.
- When a job is complete, customer uploads are disabled to protect the final job record.
Review proofs and approve production
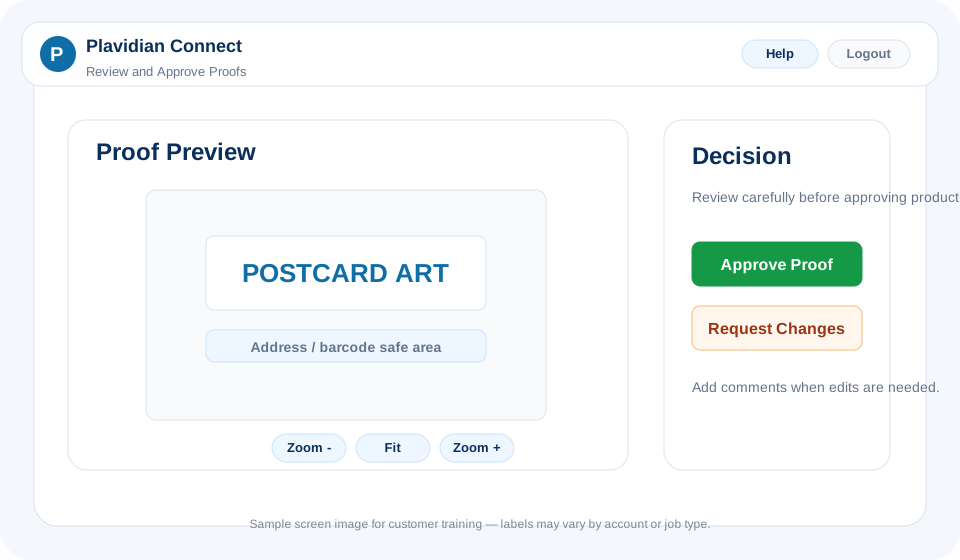
When a proof is ready, open the job and review the proof carefully. The proof viewer includes zoom controls so you can inspect details before approving.
- Click Approve Proof when the artwork is correct and ready for production.
- Click Request Changes when edits are needed, and include clear comments.
- Approving a proof tells Plavidian to continue production using that proof.
Track your order summary, invoice, and pickup or delivery
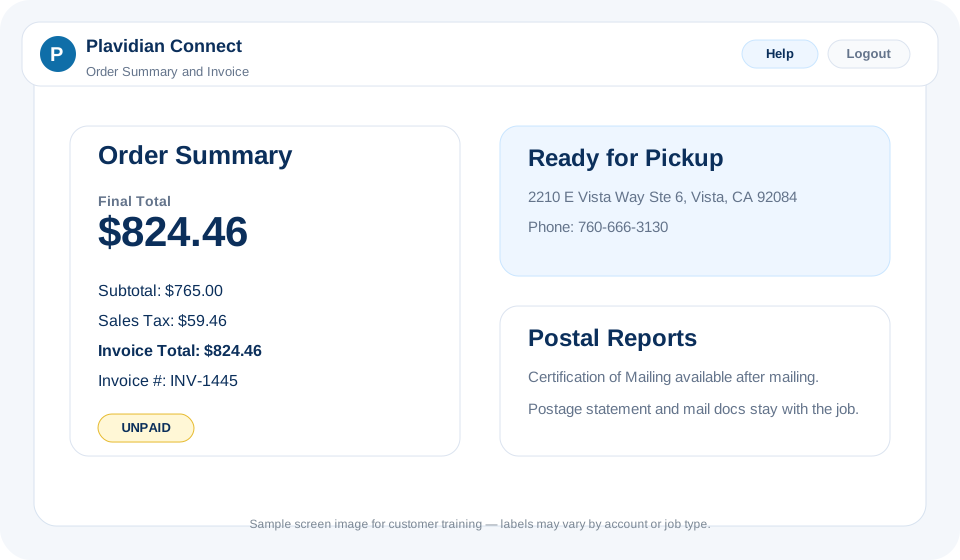
The job summary shows final customer-facing information such as invoice number, sales tax, final invoice total, pickup status, delivery details, postal reports, and certification documents when applicable.
- Final Total reflects the invoice total after sales tax when synced from Xero.
- Ready for Pickup shows Plavidian pickup address and phone information.
- Completed mailing jobs may include a downloadable Certification of Mailing.
Quick tips for smoother orders
Use final files
Upload approved artwork whenever possible. Mark drafts clearly if they are not final.
Label your lists
Use mailing list names that identify the audience, campaign, and version.
Watch proof status
Jobs awaiting proof approval need customer action before production can continue.
Check invoice totals
Invoice totals can include sales tax pulled from Xero after finalization.
Need help?
Email orders@plavidian.com or call 760-666-3130. Include your job number or PO number when asking about an existing order.